How to Implement BIM on Any Size and Type of Project to Save Costs and Time
 Other News
 Subscribe to newsletter
| 25 Feb 2018 |
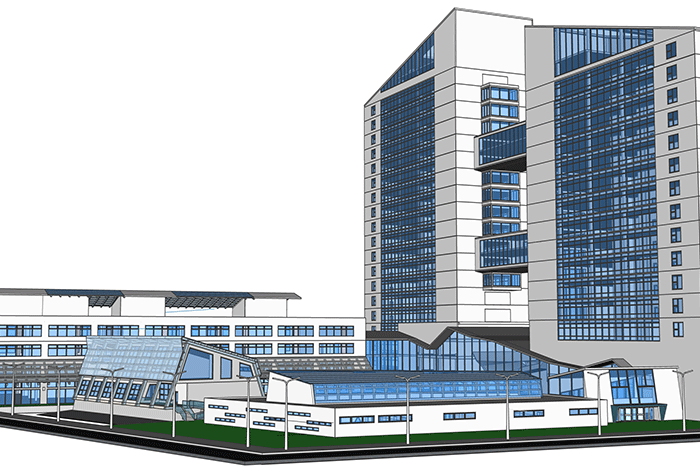
Building Information Modelling (BIM) is gaining popularity in the Middle East region but is mainly applied on larger projects. With simple tools and processes, BIM and 3D modelling can also be applied on smaller projects to increase efficiency and minimise errors and rework.
Step 1: Download the free BricsCAD Shape
BricsCAD Shape offers everything you need to present your designs. It comes with a library of materials and 3D components. Use the included collection of doors and windows, or create custom versions easily. Control the appearance of your model with Visual Styles.
Step 2: Start shaping your project
You have now started the first step of the BIM workflow. Models made with BricsCAD Shape are stored as DWG files and BIM ready.
With BricsCAD Shape, you either use the Shape Tool to create walls from scratch or import an existing 2D plan in DWG to make the 3D model from.
Step 3: Add windows, doors, furniture to your model
BricsCAD Shape comes with a library of 3D components to help you present your ideas. Need more? You can import 3D models from any source, or create your own.
Step 4: Present your model to the client
Chose the visual presentation style that suits your project and client the best. Sometimes a pencil like sketch works best, and other times a more realistic rendering is better.
Step 5: Take your model to the next level of BIM
When the conceptual design is approved, you are ready to take your BIM workflow to the next level. The model made in BricsCAD Shape is ready for BIM with no rework or loss of information.
Download BricsCAD BIM and directly open the DWG model made in BricsCAD Shape. Start with a 30-days trial of the full version of BricsCAD BIM.
Step 6: Let BricsCAD BIM do the work for you
BricsCAD BIM uses machine intelligence and automated processes to simplify the BIM process.
It automatically classifies BIM objects, including their spatial locations. Each room understands where it is located in the building and knows its 3D boundaries. Linear solids can be auto-classified as beams, pipes, ducts and more - laying the groundwork for structural and building mechanical applications.
Step 7: Add data to your BIM
After the automated classification process, you can manually add properties to building components.
Step 8: Create 2D plans from your BIM
From the 3D model, you can easily create 2D plans that are updated with any changes in the model.
Step 9: Extract data from your BIM
With the design and building components defined, you can extract quantities and descriptions directly from the model.


